With just 6 steps, you’ll get a perfect environment in your Windows PC for OpenPool Effect development.
Below shows how to set up all necessary tools to create your own effects.
It might look like a long article since we put many screenshots for easier understanding, but it’ll only take about 45 min to complete.
Are you ready? Let’s begin!
*Tested under Windows 7 (64bit) / Windows 7 (32bit) / Windows 8 (64bit)
STEP1. Install Processing
The key to OpenPool is Processing. So let’s install it first.
Download Processing from:
http://www.processing.org/

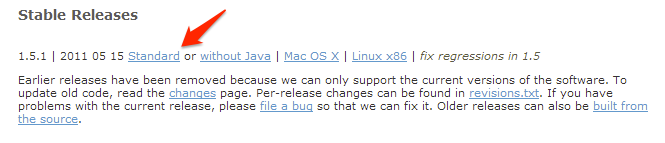
Download Processing 1.5.1 Standard, which is located in the Stable Releases section.
(Important Notice: Don’t download ver2.0. At this time, OpenPool is NOT compatible with Processing ver2.0)
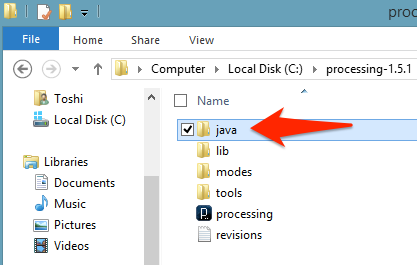
Then unzip the downloaded file, and move processing-1.5.1 folder to C drive, like: C:\processing-1.5.1

After that, remove java folder in processing-1.5.1 folder. We will install a different Java in STEP 2.
That’s it! Easy, eh?
STEP2. Install Java JDK
Next, download Java JDK.
http://www.oracle.com/technetwork/java/javase/downloads/index.html
Click the left banner to download Java Platform (JDK) . 
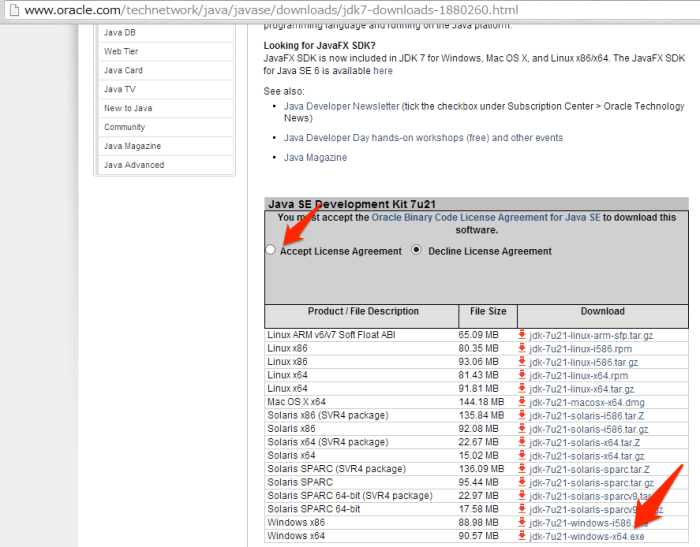
Then, take a look at the first box titled Java SE Development Kit:
Check Accept License Agreement and:
- Download Windows x64 if you are using 64bit Windows
- Download Windows x86 if you are using 32bit Windows
When downloaded, run .exe file. Just clicking “Next” or “OK”, you will make it done.

STEP3. Install OpenCV
Next is to install OpenCV.
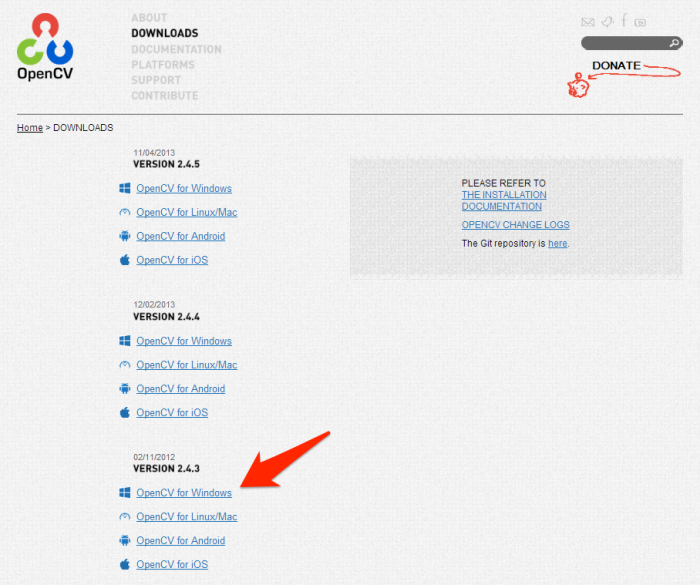
Download ver2.4.3 (Not the latest 2.4.5!We’ll upgrade in the future, though)
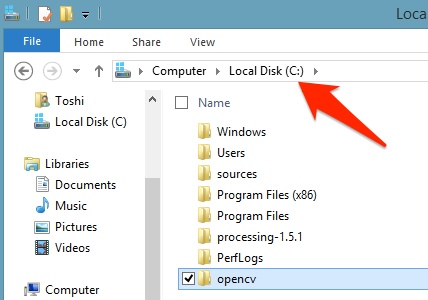
When downloaded, run .exe and it will extract opencv folder. Move it to C drive, as you did with processing-1.5.1 folder.
STEP4. Install OpenNI
We need OpenNI to use Kinect.
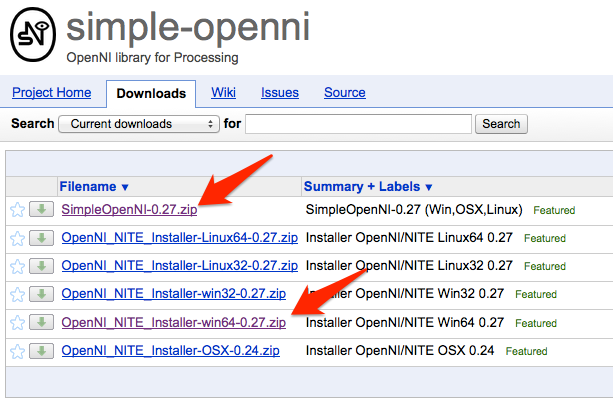
Let’s download these two files: SimpleOpenNI-0.27.zip and OpenNI_NITE_Installer-OSX-0.24.zip.
(For 32bit Windows users, OpenNI_NITE_Installer-win32-0.27.zip is for you)
http://code.google.com/p/simple-openni/downloads/list
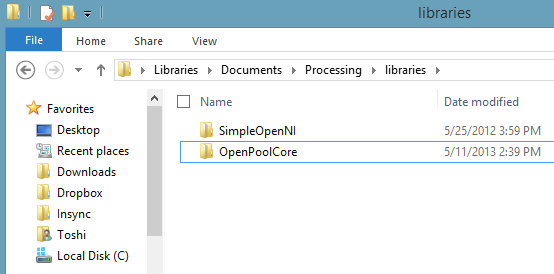
First, unzip the former file and move the extracted SimpleOpenNI folder into:
Documents/Processing/libraries
(You might need to create new folders named Processing and libraries by yourself.)
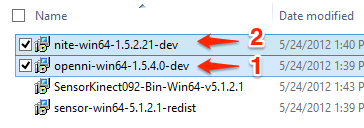
Next, unzip the latter file. You will find several installers in the extracted OpenNI_NITE_Installer-win64-0.27 folder. (or -win32- folder if you use 32 bit Windows.)
Then, run the two installers as you can see below: OpenNI and Nite. Plus, install OpenNI first.
You will need to do one more installation if you are setting up the production machine (i.e. the machine which is actually connected to Kinects and a projector).
The installer you’ll use is different depending on what type of Kinect you are using.
- – For Kinect for Xbox: Just run the installer “SensorKinect…”, which is included in the same zip file above.
- – For Kinect for Windows: Download Zip file from this Github page(You can find “ZIP” button there). Then, find and run the installer located in \SensorKinect-unstable\SensorKinect-unstable\Bin
Very good! You got OpenNI ready now.
STEP5. Install OpenPool
Finally, let’s download and install OpenPool.
http://www.openpool.cc/wp-content/uploads/OpenPoolCore.zip
Unzip the file, and move the extracted folder to:
Documents/Processing/libraries/
Easy!
STEP6. Run Sample Effect
You did it! Everything’s all set. Now, let’ run the sample effect!
The sample file is located here:
Documents/Processing/libraries/OpenPoolCore/examples/OpenPoolExampleImageOnBall/OpenPoolExampleImageOnBall.pde
(You may need to “Open with…” and find Processing.exe from the processing-1.5.1 folder put in C drive.)
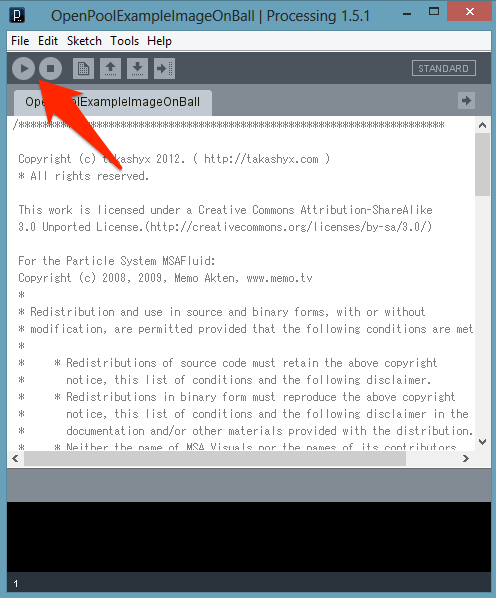
After Processing window appears, press the Play button.
Hooray!!
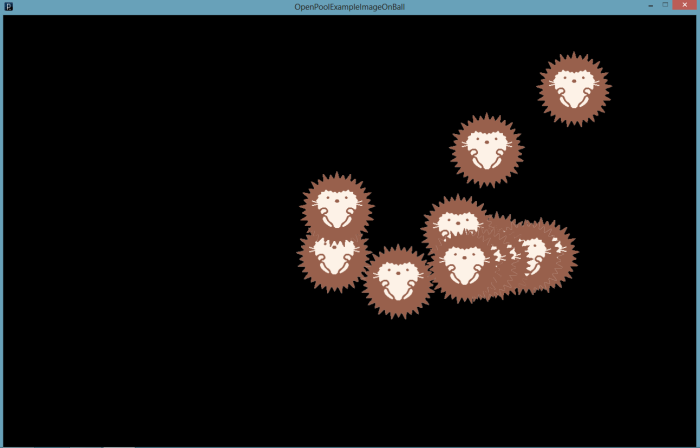
The effect is working with a recorded video, which is in the data folder next to OpenPoolExampleImageOnBall.pde.
Let’s change the image with this line:
|
1 |
img = loadImage("sample.png"); |
The image is also located in the data folder.
Enjoy!